Introduction to Red Velvet Brownies
Oh, hello there! Are you craving something truly special? Something that whispers indulgence and shouts celebration?
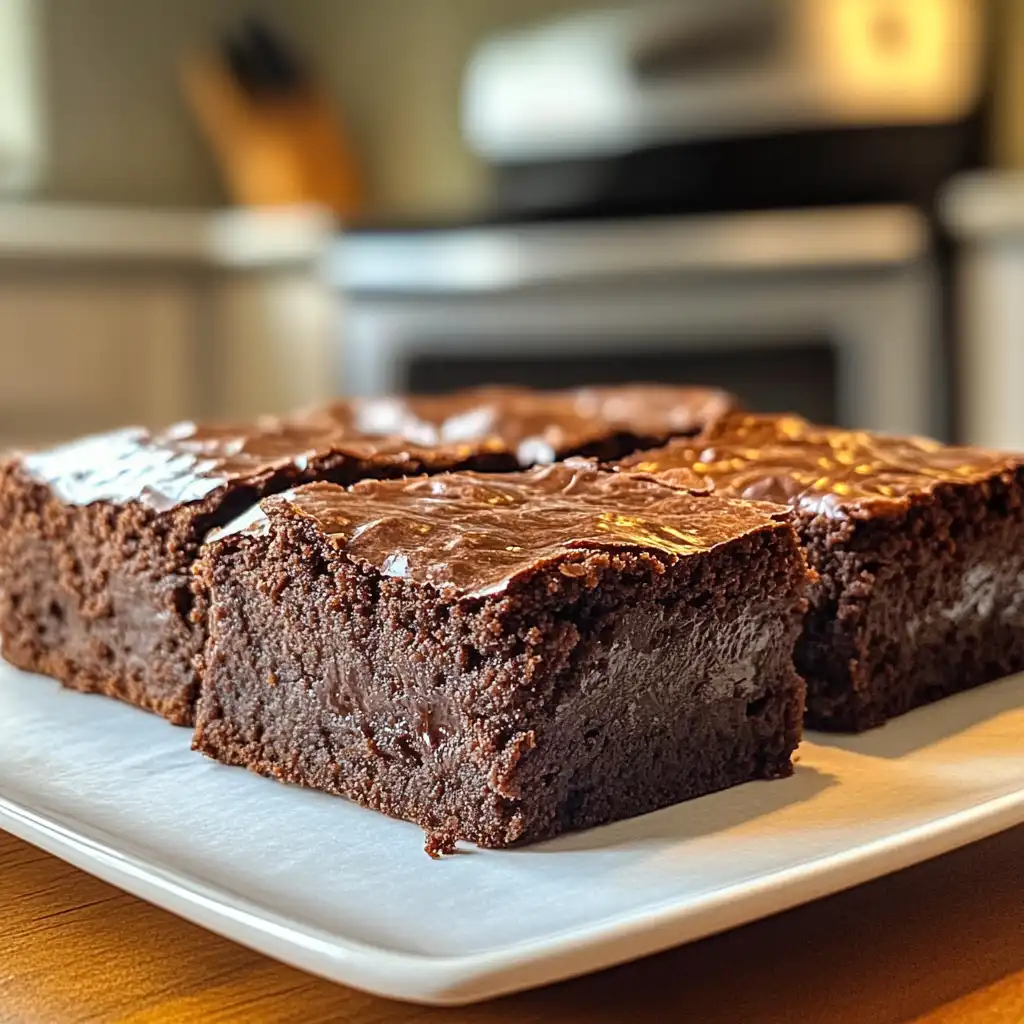
Well, I’ve got just the thing for you. Today, we’re diving into the magical world of Red Velvet Brownies.
They are a delightful fusion. Imagine rich, fudgy brownies meeting that iconic red velvet cake. It’s a match made in dessert heaven, really.
This recipe is perfect for those busy afternoons. It’s a quick fix for a sweet tooth. Plus, it’s a guaranteed crowd-pleaser. Your family will adore these.
You can impress your friends easily. They’ll think you spent ages baking. But shhh, that’s our little secret. Let’s make some magic together!
These **Red Velvet Brownies** are truly wonderful. They offer a unique flavor profile. You’ll love every single bite.
It’s a dessert that feels both familiar and exciting. It brings a bit of joy to any day. Let’s get baking, shall we?
Table of Contents
Why You’ll Love This Red Velvet Brownies Recipe
These Red Velvet Brownies are incredibly easy. You can whip them up fast. They taste absolutely divine.
Seriously, the flavor is amazing. It’s a wonderful chocolatey treat. Plus, that swirl is so pretty.
It’s a dessert that shows you care. It’s perfect for any occasion. You’ll feel great making them.
They are a real crowd-pleaser. Everyone asks for the recipe. It’s a baking win.
Ingredients for Delicious Red Velvet Brownies
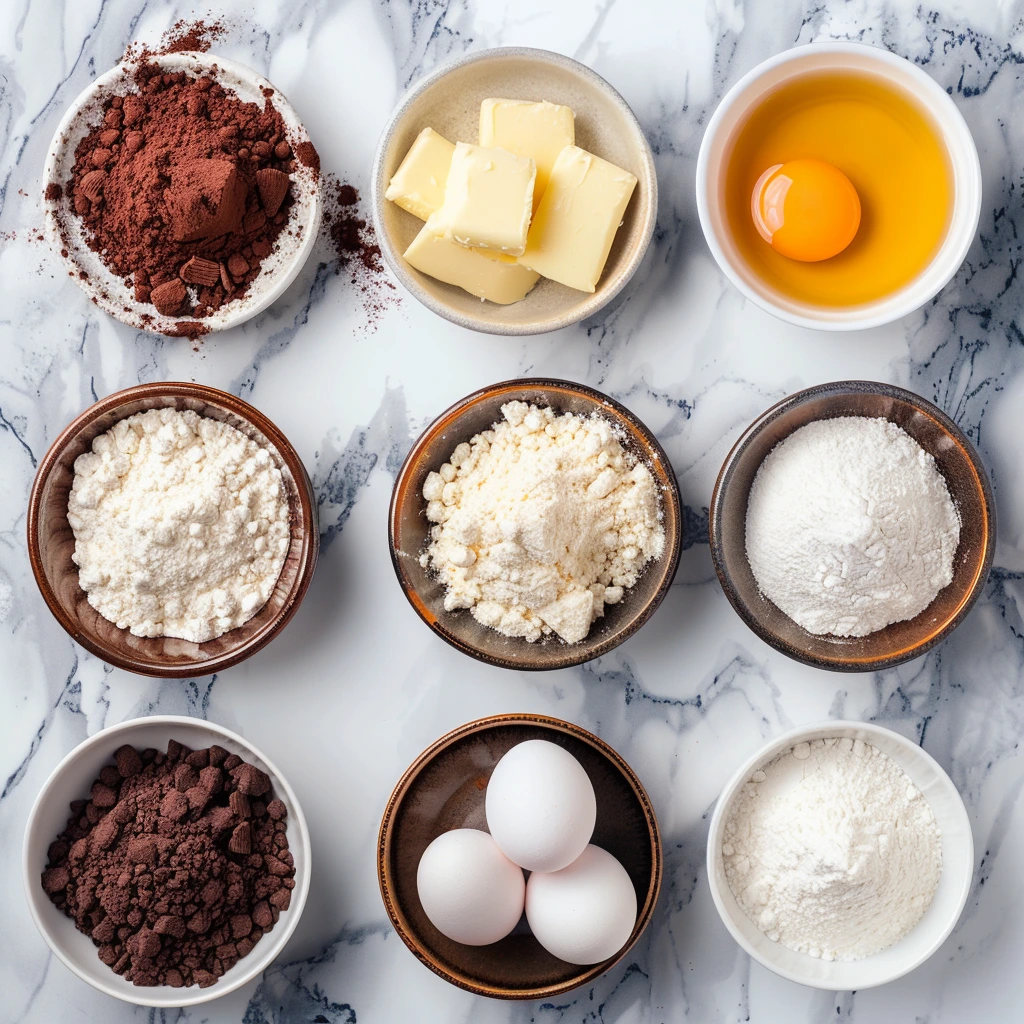
Let’s gather our goodies! You’ll need a few key players. These create that signature taste. Don’t worry about exact amounts here. You can grab the full printable recipe later.
The Foundation: Dry Ingredients
First, we need some flour. It gives our brownies structure. Then comes cocoa powder. This is for that deep chocolate flavor. A little baking soda helps them rise. And salt balances the sweetness.
The Richness: Wet Ingredients
Butter is essential. It adds moisture and flavor. Sugar makes them sweet and tender. Eggs bind everything together. Vanilla extract adds a lovely aroma.
The Signature Swirl: Cream Cheese Mixture
Cream cheese is the star here. It gives that classic tang. Powdered sugar makes it sweet. More cocoa powder deepens the chocolate. And a touch more vanilla enhances it.
Optional Add-ins for Your Red Velvet Brownies
Want to jazz things up? White chocolate chips are fantastic. Or try some chopped nuts. They add a lovely crunch. Red velvet is versatile!
How to Make Red Velvet Brownies: Step-by-Step
Let’s get baking! Making these **Red Velvet Brownies** is a breeze. Follow these simple steps. You’ll have a delicious treat in no time.
Step 1: Getting Started with Your Red Velvet Brownies
First, preheat your oven. Set it to 350°F (175°C). Get a 9×13 inch baking pan ready. Grease and flour it well. This stops them from sticking.
Step 2: Crafting the Red Velvet Batter
In a big bowl, mix melted butter and sugar. Whisk until it’s smooth. Then, add eggs one by one. Stir in vanilla extract too. In another bowl, combine flour, cocoa, baking soda, and salt. Mix these dry bits well.
In a small bowl, whisk buttermilk, red food coloring, and vinegar. This makes the color pop. Now, slowly add dry stuff to wet stuff. Alternate with the buttermilk mixture. Start and end with the dry ingredients. Mix until just combined. Don’t overmix!
Step 3: Preparing the Cream Cheese Swirl
Grab a small bowl for this part. Beat softened cream cheese. Add powdered sugar, cocoa, and vanilla. Whip until it’s super smooth. This swirl is key. It adds a lovely tang.
Step 4: Assembling and Swirling Your Red Velvet Brownies
Pour half the batter into your pan. Dollop spoonfuls of cream cheese mix over it. Use a knife or toothpick. Gently swirl the cream cheese into the batter. Create pretty patterns. Don’t mix too much though.
Then, pour the rest of the batter on top. This covers the cream cheese swirl.
Step 5: Baking and Cooling to Perfection
Bake for about 30-35 minutes. A toothpick should come out with moist crumbs. This means they’re done. Let them cool completely in the pan. Patience is a virtue here. Then, cut into squares. Enjoy your amazing **Red Velvet Brownies**!
Tips for Success with Red Velvet Brownies
- Use gel food coloring for a brighter red. Liquid can thin the batter.
- Ensure cream cheese is soft. This makes for a smooth swirl.
- Don’t overmix the batter. Overmixing makes tough brownies.
- Let them cool completely. This is crucial for clean cuts.
- Room temperature is best for serving. They taste richer that way.
Essential Equipment for Baking Red Velvet Brownies
- A 9×13 inch baking pan is key. A regular cake pan works too.
- Mixing bowls are needed. Any size will do.
- Measuring cups and spoons are important. For accurate ingredients.
- A whisk and spatula are useful. For mixing and spreading.
- An oven is necessary for baking.
Creative Variations for Your Red Velvet Brownies
- White Chocolate Chips: Fold in a cup of white chocolate chips. They complement the red velvet flavor beautifully.
- Nutty Crunch: Add chopped walnuts or pecans. They provide a delightful texture contrast.
- Raspberry Swirl: Mix a few tablespoons of raspberry jam into the cream cheese. Swirl it in for a fruity twist.
- Gluten-Free Option: Use a good quality gluten-free all-purpose flour blend. Ensure it has xanthan gum.
- Dairy-Free Adaptation: Substitute the butter with vegan butter. Use a dairy-free cream cheese alternative.
- Mini Brownies: Bake in mini muffin tins. They make perfect bite-sized treats.
Serving Suggestions for Red Velvet Brownies
- Serve with a dollop of whipped cream.
- Pair with a cold glass of milk.
- Dust with powdered sugar for elegance.
- Add a scoop of vanilla ice cream.
- Enjoy with a hot cup of coffee.
FAQs about Red Velvet Brownies
What makes Red Velvet Brownies different from regular brownies?
These **Red Velvet Brownies** stand out. They have that signature red hue. There’s also a subtle tang. This comes from buttermilk and vinegar. It’s a unique flavor twist. Regular brownies are rich chocolate. These are chocolate with a red velvet flair.
Can I make Red Velvet Brownies without cream cheese?
Yes, you absolutely can! If cream cheese isn’t your thing, skip it. You can make a plain brownie batter. Or, try a different swirl. A simple chocolate ganache swirl works. You could also use a vanilla frosting swirl. It will still be delicious!
How do I get a vibrant red color in my Red Velvet Brownies?
Achieving that vibrant red look is easy. Use a good quality red food coloring. Gel coloring is best. It’s more concentrated. You’ll need less of it. Just a couple of tablespoons usually do the trick. Mix it well into the wet ingredients.
What’s the best way to store Red Velvet Brownies?
Store cooled brownies airtight. Keep them at room temperature. They’ll stay fresh for about 3 days. For longer storage, use the refrigerator. They last up to a week. They also freeze wonderfully. Wrap them well before freezing.
Final Thoughts on Enjoying Red Velvet Brownies
And there you have it! Your very own batch of **Red Velvet Brownies**. They are truly a labor of love. But a quick and easy one!
These treats are perfect for any occasion. Maybe a weeknight dessert. Or a special weekend gathering. They always impress guests.
The combination of flavors is divine. Rich chocolate meets tangy cream cheese. That bright red swirl is so festive. It just makes you happy.
I hope you enjoy making these. Baking should be fun and rewarding. These brownies deliver on both. They are a little slice of happiness.
So go ahead, bake a batch. Share them with loved ones. Or keep them all to yourself! You deserve a treat. Happy baking, friends!
PrintRed Velvet Brownies: Crave This Delicious Treat!
- Total Time: 55 minutes
- Yield: 24 servings
- Diet: Vegetarian
Description
Indulge in the rich, decadent flavor of Red Velvet Brownies, a delightful twist on a classic dessert that combines the intense chocolatey goodness of brownies with the distinctive tang and vibrant color of red velvet cake.
Ingredients
- 1 cup (2 sticks) unsalted butter, melted
- 2 cups granulated sugar
- 4 large eggs
- 1 teaspoon vanilla extract
- 1 cup all-purpose flour
- 1/3 cup unsweetened cocoa powder
- 1/2 teaspoon baking soda
- 1/4 teaspoon salt
- 1/4 cup buttermilk
- 2 tablespoons red food coloring
- 1 teaspoon white vinegar
- 1 teaspoon unsweetened cocoa powder
- 4 ounces cream cheese, softened
- 1/4 cup powdered sugar
- 1/2 teaspoon vanilla extract
Instructions
- Preheat oven to 350°F (175°C). Grease and flour a 9×13 inch baking pan.
- In a large bowl, whisk together melted butter and granulated sugar until well combined.
- Beat in eggs one at a time, then stir in vanilla extract.
- In a separate bowl, whisk together flour, 1/3 cup cocoa powder, baking soda, and salt.
- In a small bowl, combine buttermilk, red food coloring, and white vinegar.
- Gradually add the dry ingredients to the wet ingredients, alternating with the buttermilk mixture, beginning and ending with dry ingredients. Mix until just combined.
- Pour half of the batter into the prepared baking pan.
- In a small bowl, beat cream cheese, powdered sugar, 1 teaspoon cocoa powder, and 1/2 teaspoon vanilla extract until smooth.
- Drop spoonfuls of the cream cheese mixture over the batter in the pan.
- Gently swirl the cream cheese into the batter using a knife or toothpick.
- Pour the remaining batter over the cream cheese mixture.
- Bake for 30-35 minutes, or until a toothpick inserted into the center comes out with moist crumbs attached.
- Let cool completely in the pan before cutting into squares.
Notes
- For a richer red color, you can use gel food coloring instead of liquid.
- Ensure cream cheese is at room temperature for a smooth swirl.
- Do not overmix the batter to avoid tough brownies.
- These brownies are best enjoyed at room temperature.
- Prep Time: 20 minutes
- Cook Time: 35 minutes
- Category: Dessert
- Method: Baking
- Cuisine: American