Introduction to Fresh Cherry Pie
Hello bakers! Is there anything more delightful than a slice of homemade pie? I’m talking about that perfect, flaky crust. And a filling bursting with sweet, tart cherries. Today, we’re diving into a truly classic dessert: a beautiful fresh cherry pie.
I know life gets busy. You’re juggling work, family, and everything in between. This recipe is your secret weapon. It’s a guaranteed crowd-pleaser. It brings sunshine to any table. Think of it as a delicious hug. It’s perfect for those moments you need a sweet escape.
This fresh cherry pie recipe is simple. It’s incredibly rewarding. You’ll create a dessert that tastes like pure summer. It’s a fantastic way to impress. Your loved ones will ask for seconds. It’s also a wonderful treat for yourself. You truly deserve it!
Table of Contents
Why You’ll Love This Fresh Cherry Pie
This recipe is a breeze to make. It doesn’t demand hours in the kitchen. You get incredible flavor. It’s a taste of pure nostalgia. Your family will adore this homemade treat. It truly brightens any occasion. It’s a simple joy for busy lives.
The combination of sweet and tart cherries is divine. The buttery crust is simply irresistible. This fresh cherry pie is a winner. It’s easy to master. You’ll feel like a baking pro. It’s a hug in a pie dish.
Ingredients for Fresh Cherry Pie
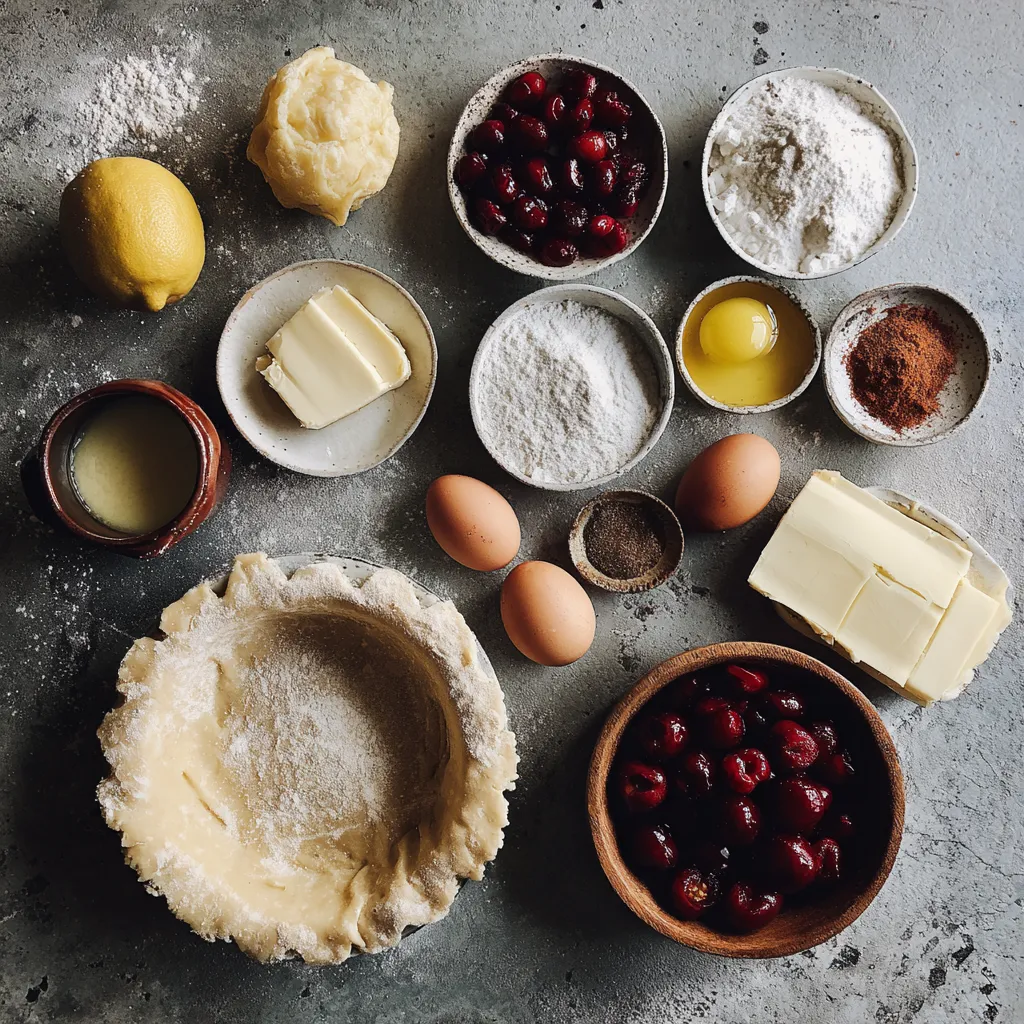
Gathering your ingredients is the first step. It makes baking much smoother. I always like to have everything ready. This makes the process feel less rushed. You’ll find the exact amounts listed at the end.
Pie Crust Essentials
You’ll need dough for a double-crust pie. This means enough for the bottom and top. A good, flaky crust is key. It’s the foundation of your delicious pie. You can use your favorite homemade recipe. Store-bought dough works too.
The Star: Fresh Cherries
This recipe shines with fresh cherries. Aim for about six cups. You’ll want them pitted, of course. A mix of sweet and tart cherries is best. It adds wonderful depth. If you can’t find fresh, frozen works. Just drain them very well.
Sweetening and Thickening the Filling
Sugar balances the tartness of the cherries. You’ll need some for sweetness. Cornstarch is crucial for thickening. It turns the juicy cherries into a lovely filling. It prevents that dreaded watery pie. Lemon juice adds brightness. It cuts through the sweetness.
Flavor Enhancers
A touch of lemon zest is a nice bonus. It really wakes up the cherry flavor. Cinnamon and nutmeg add warmth. They are classic pie spices. They create that comforting aroma. These spices make the filling sing.
For That Golden Finish
An egg wash gives the crust a beautiful sheen. Brush it on before baking. It creates a lovely golden-brown color. A sprinkle of sugar on top adds sparkle. It also gives a nice little crunch. This makes your fresh cherry pie look as good as it tastes.
How to Make Fresh Cherry Pie
Let’s get baking this amazing fresh cherry pie! It’s easier than you think. Follow these steps. You’ll create a dessert everyone will love. Baking is a journey. Enjoy each part of it.
Step 1: Preparing the Pie Crust
First, preheat your oven. Set it to 400°F (200°C). Prepare your pie crust. Roll out half the dough. Carefully line your 9-inch pie plate. Trim and crimp the edges. Make them look pretty! This is the base of your pie.
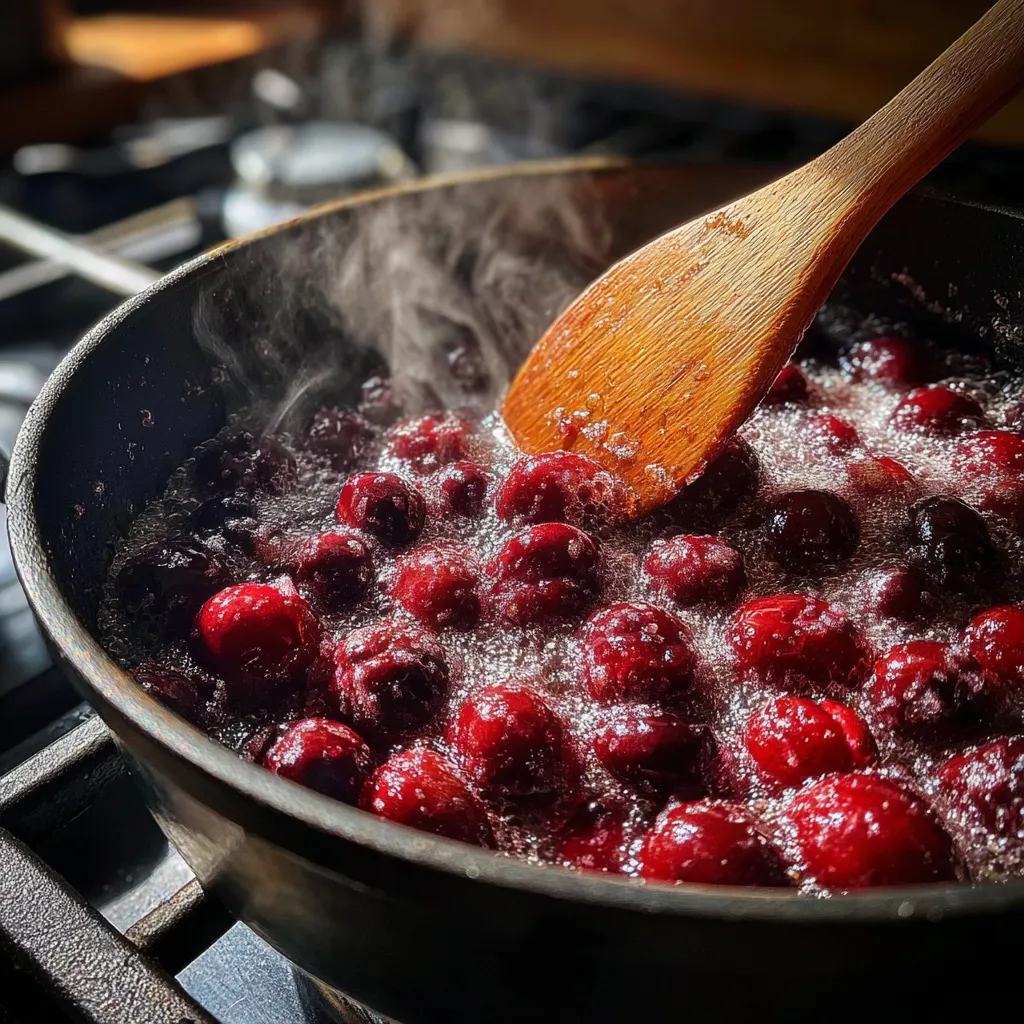
Step 2: Crafting the Delicious Cherry Filling
Now, the star of the show! In a big bowl, combine your fresh cherries. Add the sugar and cornstarch. Toss in the lemon juice. Don’t forget the zest, cinnamon, and nutmeg. Mix everything gently. Coat the cherries well. Add the butter pieces on top.
Step 3: Assembling Your Fresh Cherry Pie
Pour the cherry mix into the crust. Spread it evenly. Roll out the remaining dough. This is for your top crust. You can make a solid top. Cut slits for steam. Or, make a lovely lattice. Place it over the filling. Seal the edges. Crimp them nicely.
Step 4: Baking to Perfection
Brush the top with egg wash. Sprinkle with sugar. Place the pie on a baking sheet. Bake for 20 minutes at 400°F. Then, lower the heat. Bake at 375°F for 30-40 more minutes. Look for a golden crust. The filling should bubble. Tent with foil if it browns too fast.
Step 5: The All-Important Cooling Period
This step is crucial! Let your fresh cherry pie cool. Use a wire rack. Wait at least 2-3 hours. This allows the filling to set. Cutting too early makes a mess. Patience yields a perfect slice. It’s worth the wait, truly.
Tips for Success
- Use a mix of cherries. Sweet and tart cherries create a balanced flavor.
- Chill your pie crust dough. This makes it easier to handle.
- Don’t skip the cooling time. It’s essential for the filling to set properly.
- Bake on a sheet pan. This catches any bubbling juices.
- Vent the top crust. This allows steam to escape.
- Adjust sugar to your taste. Cherries vary in sweetness.
Equipment Needed for Fresh Cherry Pie
- 9-inch pie plate: A standard pie dish works well.
- Large mixing bowl: For combining the cherry filling.
- Rolling pin: To roll out your pie dough.
- Baking sheet: Catches drips during baking.
- Pastry brush: For applying the egg wash.
- Wire rack: For cooling the pie.
Variations for Your Fresh Cherry Pie
- Add a pinch of almond extract to the cherry filling. It complements cherries beautifully.
- Mix in a handful of fresh blueberries or raspberries. This adds extra color and flavor.
- For a crumble top, mix 1 cup flour, 1/2 cup oats, 1/2 cup brown sugar, and 1/2 cup cold butter. Sprinkle over the filling.
- Try a different spice blend. Cardamom or ginger can offer a unique twist.
- Make mini hand pies. Cut dough into circles and fill for individual treats.
Serving Suggestions
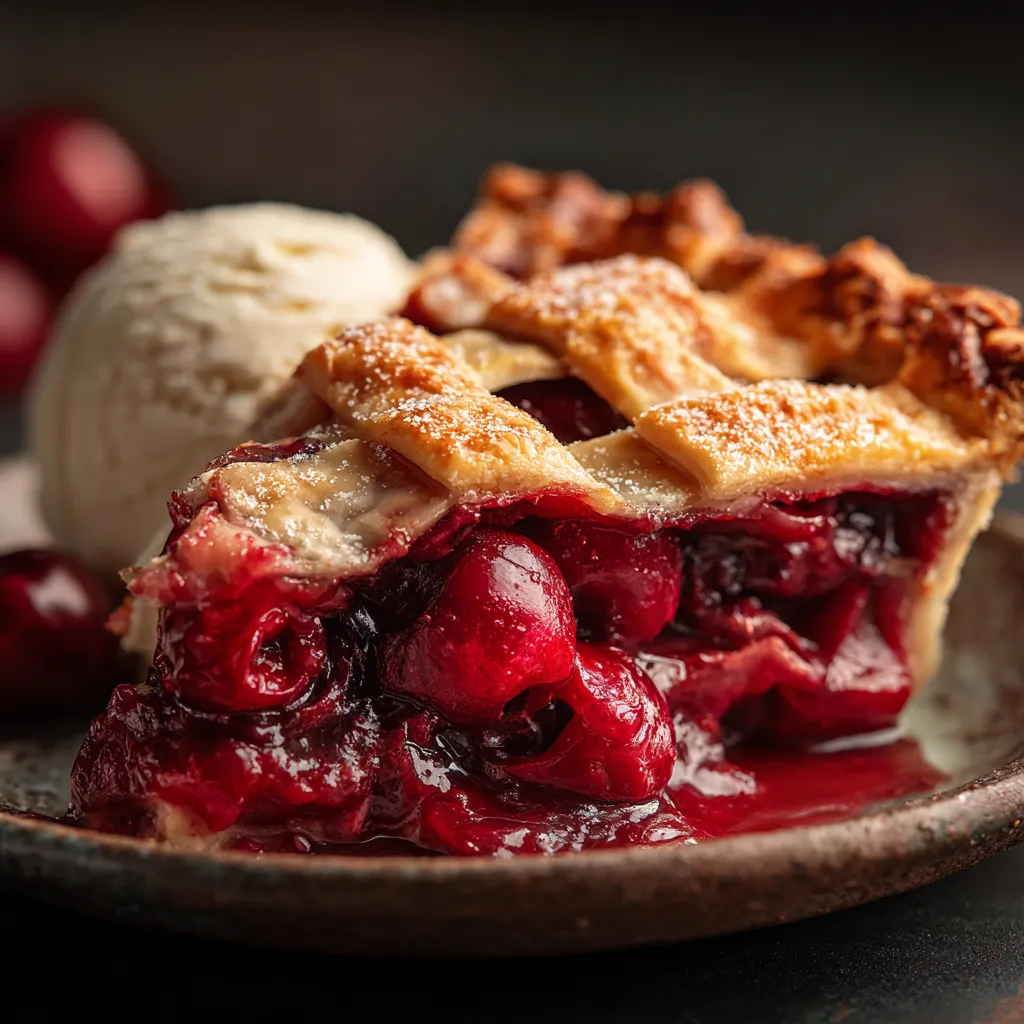
A slice of warm fresh cherry pie is delightful. Serve it with a scoop of vanilla ice cream. A dollop of whipped cream is also lovely. A drizzle of chocolate sauce adds decadence. It pairs well with a cold glass of milk. Coffee or tea also complements it nicely.
FAQs about Fresh Cherry Pie
Can I use frozen cherries instead of fresh cherries for this fresh cherry pie recipe?
Yes, you absolutely can! Frozen cherries work well. Just make sure to thaw them first. Drain them very thoroughly. This is key to avoid a soupy filling. You might need a little more cornstarch. This helps thicken the juices.
How do I prevent my fresh cherry pie from having a watery filling?
A watery filling is a pie baker’s nemesis! For this fresh cherry pie, ensure your cherries are well-drained. Use cornstarch as the thickener. Increasing it slightly can help. Don’t skip the cooling time. It’s vital for setting the juices.
What’s the best way to tell if my fresh cherry pie is fully baked?
Look for visual cues. The crust should be a beautiful golden brown. The filling needs to be visibly bubbling in the center. This means the thickener has activated. It ensures a set filling. A baking sheet also helps catch overflow.
How long does a fresh cherry pie need to cool before slicing?
Patience is a virtue here! For the best slice, let your fresh cherry pie cool for at least 2 to 3 hours. This allows the filling to thicken and set properly. If you cut it too soon, the filling will likely run out.
Final Thoughts
Making this fresh cherry pie is more than just baking. It’s about creating memories. It’s about sharing love. That first bite is pure bliss. The sweet, tart cherries burst forth. The crust is buttery perfection. It’s a taste of home.
This recipe is a reminder. Simple ingredients can yield magic. It’s a perfect way to celebrate summer. Or just to brighten any ordinary day. You’ve created something special. Something truly from the heart. Enjoy every delicious crumb!
PrintFresh Cherry Pie: Taste the Sweetness, Love the Crust.
- Total Time: 3 hours 30 minutes (includes cooling time)
- Yield: 8 servings
- Diet: Vegetarian
Description
A classic homemade cherry pie featuring a flaky, buttery crust filled with sweet and tart cherries.
Ingredients
- 1 recipe for 9-inch pie crust (enough for double crust)
- 6 cups fresh pitted cherries (about 2 1/2 pounds)
- 3/4 cup granulated sugar (or to taste)
- 1/4 cup cornstarch
- 1 tablespoon lemon juice
- 1 teaspoon lemon zest (optional)
- 1/4 teaspoon ground cinnamon
- 1/4 teaspoon ground nutmeg
- 1 tablespoon unsalted butter, cut into small pieces
- 1 large egg, beaten (for egg wash)
- 1 tablespoon granulated sugar (for sprinkling)
Instructions
- Preheat your oven to 400°F (200°C).
- Prepare your pie crust according to your preferred recipe. Roll out half of the dough and carefully line a 9-inch pie plate. Trim and crimp the edges as desired.
- In a large bowl, combine the pitted cherries, 3/4 cup granulated sugar, cornstarch, lemon juice, lemon zest (if using), cinnamon, and nutmeg. Toss gently to coat the cherries evenly.
- Pour the cherry filling into the prepared pie crust. Dot the top of the filling with the small pieces of butter.
- Roll out the remaining pie dough for the top crust. You can either place it as a solid top crust, cutting vents for steam to escape, or cut it into strips for a lattice top.
- Place the top crust over the filling and crimp the edges to seal.
- Brush the top crust with the beaten egg wash and sprinkle with the remaining 1 tablespoon of granulated sugar.
- Place the pie on a baking sheet (to catch any drips) and bake for 20 minutes.
- Reduce the oven temperature to 375°F (190°C) and continue baking for another 30-40 minutes, or until the crust is golden brown and the filling is bubbly. If the crust starts to brown too quickly, loosely tent the pie with aluminum foil.
- Let the pie cool on a wire rack for at least 2-3 hours before slicing and serving. This allows the filling to set properly.
Notes
- Using a mix of sweet and tart cherries will provide a more complex flavor.
- For a thicker filling, you can increase the cornstarch to 1/3 cup.
- Ensure the cherries are well-drained if using frozen cherries to avoid a watery filling.
- Allowing the pie to cool completely is crucial for the filling to set.
- Prep Time: 30 minutes
- Cook Time: 50-60 minutes
- Category: Dessert
- Method: Baking
- Cuisine: American