Hey there, fellow home cooks! Are you ever in a pinch, dreaming of warm, flaky pastries but staring at an empty pantry? I totally get it. Life gets busy, right? That’s why I’m so excited to share my go-to crescent dough sheet recipe with you. It’s a total game-changer for busy days.
This simple recipe is your secret weapon. Imagine whipping up homemade cinnamon rolls or quick turnovers in no time. It’s perfect for those moments when you want to impress your family or friends without spending hours in the kitchen. This dough is incredibly versatile!
Table of Contents
Baking Bliss with Your Own Crescent Dough Sheet Recipe
This isn’t just any dough; it’s a ticket to homemade heaven. It’s your quick solution for a busy day. You can create delightful treats that taste just like they came from a fancy bakery. Plus, making your own dough is surprisingly rewarding. You’ll feel like a baking star!
You’ll absolutely adore this crescent dough sheet recipe. It’s a simple solution for busy weeknights. You can create delicious baked goods with ease. It tastes so much better than store-bought dough. Your family will be so impressed!
Unlock Simplicity and Deliciousness
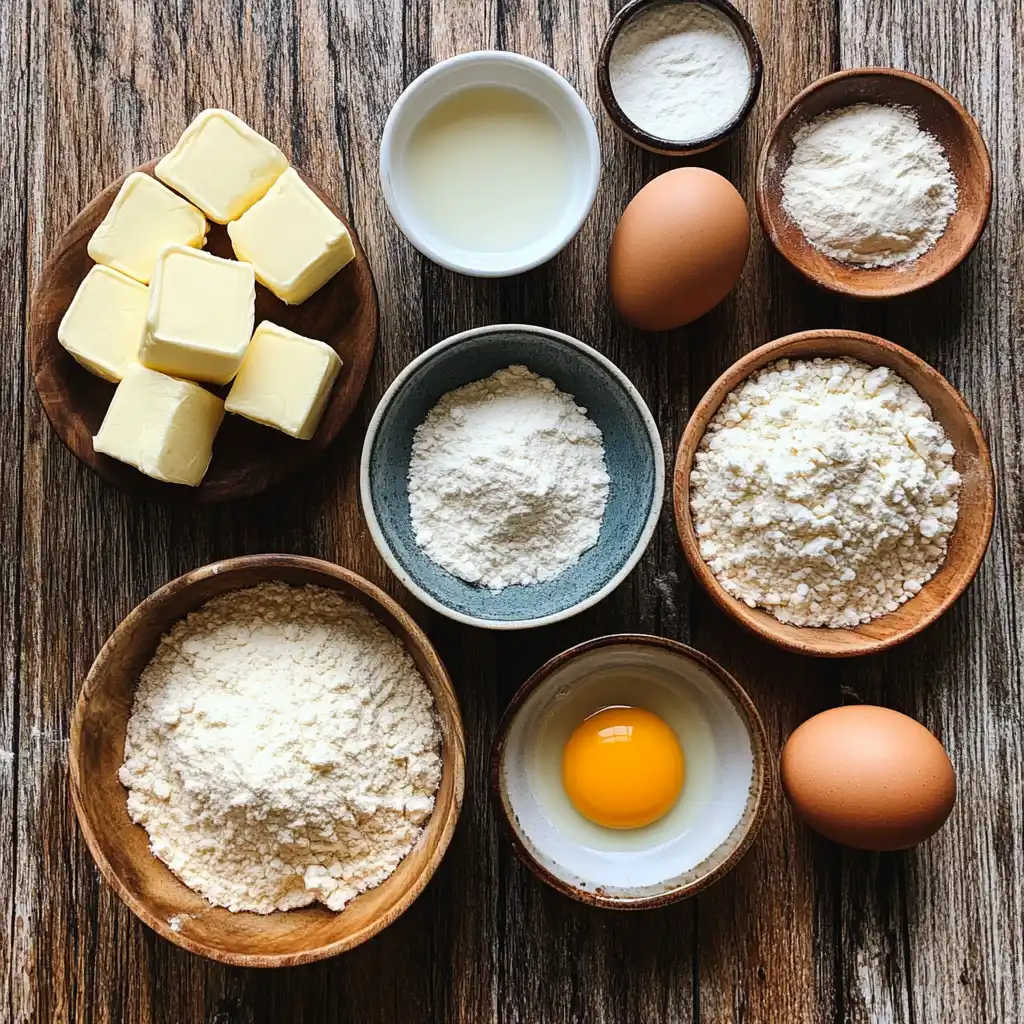
Let’s talk about what goes into this magical crescent dough sheet recipe. Don’t worry, I’ll keep the measurements handy for you at the bottom. We’re building flavor from the ground up!
The Building Blocks of Deliciousness
Yeast: The Magic Raiser
This little wonder is what makes our dough rise. It’s a living thing! It eats sugar and breathes out air. This makes our dough light and airy.
Sugar: A Little Sweetness
Just a touch of sugar feeds the yeast. It also adds a hint of sweetness. It’s a key player in the flavor game.
Warm Water: The Activator
This is crucial for waking up the yeast. It needs to be just right, not too hot. Think of a cozy bath for our yeast buddies.
All-Purpose Flour: The Foundation
Our main building block! Flour gives the dough its structure. It’s the canvas for all our delicious creations.
Salt: Flavor Enhancer
Don’t skip the salt! It balances the sweetness. It also brings out all the other yummy flavors.
Unsalted Butter: Richness and Texture
Softened butter is key here. It adds richness and tenderness. It also helps create those lovely flaky layers.
Milk: For Softness
A splash of milk makes our dough extra soft. It adds a subtle richness too. It’s like a creamy hug for the dough.
Large Egg: Binding and Richness
An egg helps bind everything together. It also adds a beautiful golden color. Plus, it boosts the dough’s richness.
Optional Additions and Substitutions
Feel free to get creative! You can add a pinch of cinnamon. Or maybe some dried herbs for savory treats. Whole wheat flour can be swapped in. Just use about half and half for best results.
How to Make Your Crescent Dough Sheet Recipe
Now for the fun part! Making this crescent dough sheet recipe is easier than you think. Follow these simple steps. You’ll have beautiful dough ready for baking in no time. Let’s get our hands a little floury!
Step 1: Awakening the Yeast
Grab a small bowl. Dissolve your yeast and sugar in warm water. Let this mixture sit for about five to ten minutes. You’ll see it get nice and foamy. This means your yeast is alive and ready to work its magic.
Step 2: Combining the Dry Ingredients
In a big bowl, whisk together your flour and salt. This ensures everything is evenly distributed. It’s a simple step, but it makes a difference. It sets the stage for our delicious dough.
Step 3: Incorporating the Wet Ingredients
Add the softened butter, warmed milk, and beaten egg to the flour mixture. These are the richness builders. They bring moisture and tenderness to our dough.
Step 4: Bringing It All Together
Pour the foamy yeast mixture into the wet ingredients. Mix everything until it starts to look shaggy. Don’t worry if it’s not smooth yet. This is just the beginning of our dough journey.
Step 5: Kneading to Perfection
Turn the dough onto a lightly floured surface. Now, knead it for about five to seven minutes. You want it smooth and elastic. It should feel soft and pliable, like a stress ball.
Step 6: The First Rise
Place your kneaded dough into a greased bowl. Cover it up snugly. Let it rise in a warm spot for one to one and a half hours. It should double in size. Patience is key here!
Step 7: Preparing for Shaping
Once doubled, punch down the dough gently. This releases the air. Divide the dough into two equal portions. Now you have two manageable pieces to work with.
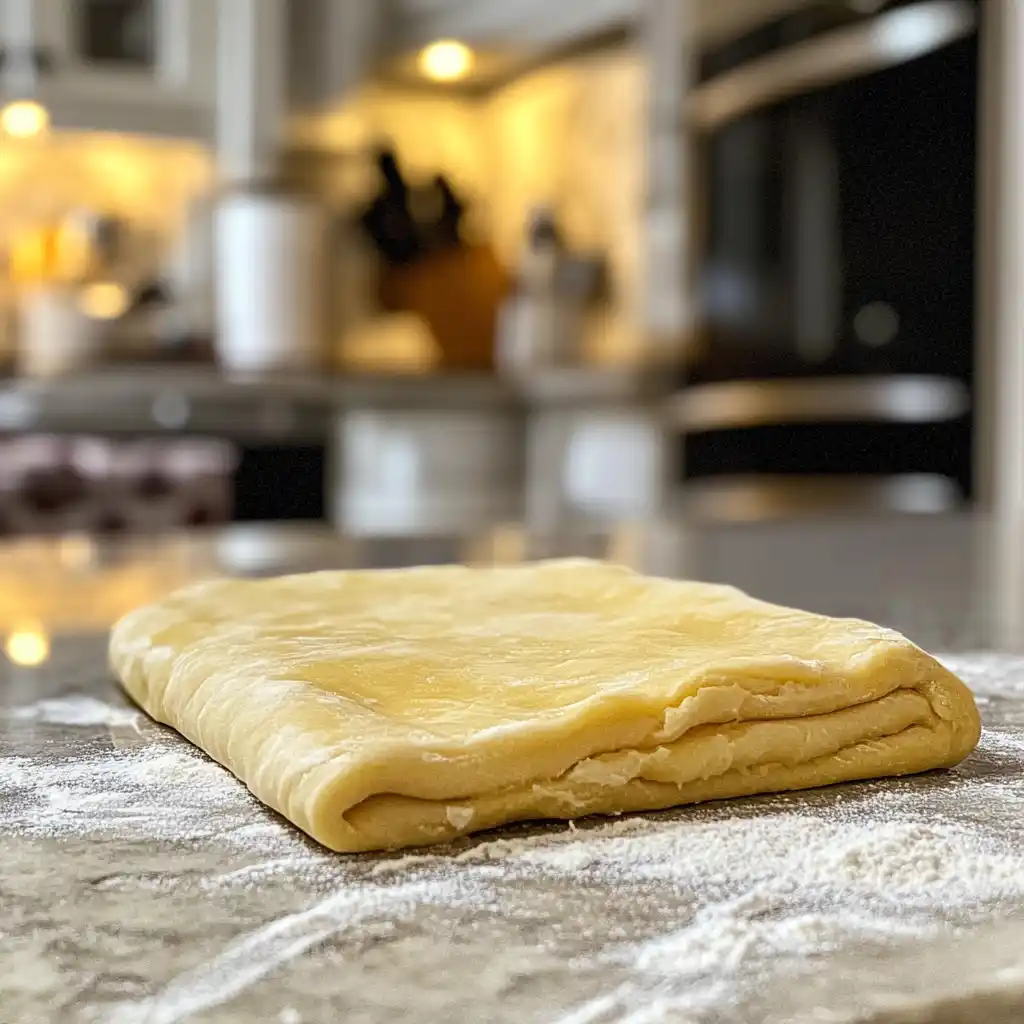
Step 8: Rolling Out Your Dough Sheets
On a floured surface, roll out each dough portion. Aim for a large rectangle. Keep the thickness around one-quarter inch. This creates our versatile dough sheets. They are ready for anything!
Step 9: Customizing Your Shapes
Now, cut your rectangles into shapes. Triangles are perfect for croissants. Squares work wonderfully for turnovers. Whatever you dream up, cut away! Let your creativity shine.
Step 10: The Final Rest
Place your cut dough pieces on a baking sheet. Cover them loosely. Let them rest for about fifteen to twenty minutes. This final rest makes them even more tender. They are now ready for baking or refrigerating for later.
Tips for Success with Your Crescent Dough Sheet Recipe
Want to make your crescent dough sheet recipe even better? Here are a few quick wins!
Quick Wins for Baking Brilliance
- Ensure your water is warm, not hot. Too hot kills yeast.
- Don’t over-knead the dough. It can get tough.
- Softened butter is best. Melted butter makes dough greasy.
- A warm spot helps dough rise. A slightly warm oven works wonders.
- Resting dough is important. It makes it tender and easy to work with.
Equipment Needed for This Crescent Dough Sheet Recipe
You don’t need fancy gadgets for this recipe. Most kitchens have these basics.
Your Kitchen Toolkit
- Large mixing bowl
- Small bowl (for yeast)
- Whisk
- Measuring cups and spoons
- Rolling pin
- Baking sheet
- Plastic wrap or kitchen towel
Delicious Variations on the Crescent Dough Sheet Recipe
This crescent dough sheet recipe is a blank canvas for your culinary imagination. Don’t be afraid to experiment!
Get Creative with Your Dough
- Sweet Cinnamon Swirls: Sprinkle rolled-out dough with cinnamon sugar. Roll it up tightly and slice into pinwheels before the final rest.
- Herb & Cheese Twist: Mix dried herbs like rosemary or thyme and grated Parmesan cheese into the dough before the first rise.
- Garlic Knots: Cut dough into strips, twist, and brush with melted garlic butter before baking.
- Whole Wheat Blend: Substitute up to half of the all-purpose flour with whole wheat flour for a nuttier flavor and added fiber.
- Gluten-Free Option: For a gluten-free version, use a quality gluten-free all-purpose flour blend. You might need a little more liquid.
- Vegan Delight: Swap the milk for unsweetened plant-based milk and use a vegan butter substitute. Ensure your egg is replaced with a flax egg or commercial egg replacer.
Serving Suggestions for Your Crescent Dough Sheet Recipe
This versatile dough can be the star of any meal or snack. Here are a few ideas to get you started!
Perfect Pairings and Presentation
- Breakfast Boost: Serve warm cinnamon rolls with a cup of coffee.
- Lunchtime Delight: Use dough for mini pizzas or savory turnovers.
- Dinner Companion: Bake them as dinner rolls for a special touch.
- Dessert Dream: Fill with fruit for easy hand pies.
- Presentation Tip: A light dusting of powdered sugar or a glaze elevates any sweet pastry.
Got questions about our wonderful crescent dough sheet recipe? I’ve got answers! Let’s clear up any confusion.
Your Questions Answered
Can I make this dough ahead of time?
Absolutely! This homemade dough is perfect for meal prep. Refrigerate it for up to two days. Just make sure it’s wrapped tightly. It holds up wonderfully for busy mornings or unexpected guests.
What’s the best way to store leftover dough?
Leftover dough is a baker’s best friend! Wrap it well in plastic wrap. You can keep it in the fridge for a couple of days. For longer storage, freeze it. This makes future baking incredibly convenient.
My dough didn’t rise much. What went wrong?
Don’t fret! Yeast is sensitive. The water might have been too hot or too cold. It could also be old yeast. Check the expiration date! A warm spot is key for rising, too.
Can I use bread flour instead of all-purpose flour?
You certainly can! Bread flour has more protein. This will make your crescent dough sheet recipe a bit chewier. It’s a great option if you like a heartier texture in your baked goods.
How do I get really flaky layers?
The key to flaky layers is properly softened butter. It should be pliable, not melted. When you roll the dough, try not to overwork it. Gentle handling is crucial for that delicate texture.
Final Thoughts on the Crescent Dough Sheet Recipe
Making this crescent dough sheet recipe is like unlocking a little bit of kitchen magic. It transforms simple ingredients into something truly special. You’ll feel a genuine sense of accomplishment. It’s incredibly satisfying to create delicious treats from scratch.
This recipe is more than just dough; it’s about connection. It’s about sharing warm, homemade goodness with loved ones. Imagine the smiles when they taste your fresh pastries! This dough is your ticket to creating those memorable moments. It’s a simple joy that makes any day feel a little brighter.
PrintCrescent Dough Sheet Recipe: Easy Baking Secrets!
- Total Time: 2 hours 20 minutes (including rising)
- Yield: 2 large dough sheets
- Diet: Vegetarian
Description
A simple and versatile recipe for making your own crescent dough sheets at home, perfect for a variety of baked goods.
Ingredients
- 2 1/4 teaspoons active dry yeast
- 1 teaspoon sugar
- 1/4 cup warm water (105-115°F)
- 3 cups all-purpose flour, plus more for dusting
- 1 teaspoon salt
- 1/2 cup unsalted butter, softened
- 1/2 cup milk, warmed
- 1 large egg, beaten
Instructions
- In a small bowl, dissolve yeast and sugar in warm water. Let stand for 5-10 minutes until foamy.
- In a large bowl, whisk together flour and salt.
- Add softened butter, warmed milk, and beaten egg to the flour mixture.
- Add the yeast mixture to the wet ingredients and mix until a shaggy dough forms.
- Turn the dough out onto a lightly floured surface and knead for 5-7 minutes until smooth and elastic.
- Place the dough in a greased bowl, cover, and let rise in a warm place for 1-1.5 hours, or until doubled in size.
- Punch down the dough and divide it into two equal portions.
- On a lightly floured surface, roll each portion into a large rectangle, about 1/4 inch thick.
- Cut the rectangles into desired shapes (e.g., triangles for croissants, squares for turnovers).
- Place on a baking sheet, cover, and let rest for 15-20 minutes before baking or refrigerating for later use.
Notes
- Ensure your water is the correct temperature for the yeast to activate properly.
- Do not overwork the dough when kneading.
- For flaky results, ensure the butter is softened but not melted.
- Dough can be refrigerated for up to 2 days or frozen for longer storage.
- Prep Time: 25 minutes
- Cook Time: 0 minutes (before baking)
- Category: Dough
- Method: Baking
- Cuisine: American