Hey there, fellow busy bees! Life’s a whirlwind, isn’t it? Between work, family, and just trying to keep it all together, finding a moment for yourself can feel like a luxury.
That’s why I’m so excited to share this recipe for homemade apple cider with you. It’s a true gem. This isn’t just any drink; it’s a little bit of autumn in a glass. Plus, it’s a fantastic way to boost your well-being.
Imagine this: a chilly evening, you’ve just conquered your to-do list, and you’re ready to unwind. Pouring a glass of this vibrant, tangy apple cider is pure bliss. It’s a comforting treat that feels both indulgent and incredibly good for you. It’s a simple joy that makes a big difference.
This homemade apple cider is a total game-changer. It’s surprisingly simple to make. You’ll love its vibrant, fresh taste. It’s a healthier way to enjoy a sweet treat. It truly is a delightful drink for any occasion.
Let’s dive into what you’ll need for this delightful apple cider. You’ll be happy to know it uses simple ingredients. Most are probably already in your kitchen! I find that gathering them makes the whole process feel even more manageable. It’s like setting the stage for a wonderful culinary performance.
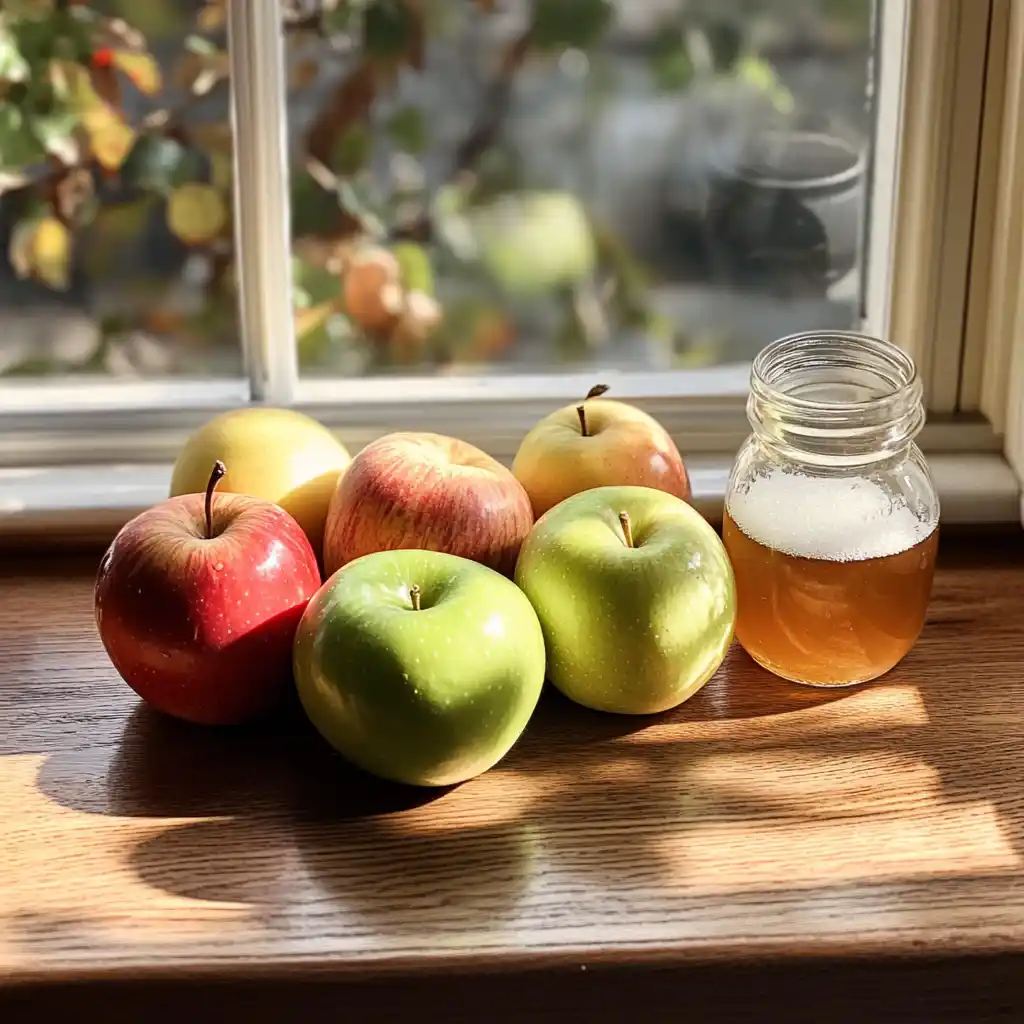
The Foundation: Apples
Apples are the star, of course. For the best flavor, I love using a mix. Think a sweet variety like Fuji or Gala. Then add a tart one like Granny Smith. This blend creates a wonderfully complex taste. It’s like a symphony for your taste buds. The fresher, the better!
The Essential Element: Water
You’ll simply need some good quality water. It helps to extract all that lovely apple goodness. Filtered water is a great choice if you have it. It ensures a clean, pure base for your cider. It’s a simple ingredient, but oh-so-important.
Sweetening and Fermentation Aids (Optional)
If you prefer a sweeter cider, a little sugar or honey works wonders. It also helps with the fermentation process. For a quicker fermentation, a touch of yeast can be added. These are totally optional, though. You can let nature do its thing! Remember, exact quantities are listed at the bottom for printing.
Now for the fun part! Making your own delicious apple cider is easier than you think. These steps will guide you. You’ll be sipping on homemade goodness in no time. Let’s get started on this wonderful journey.
Step 1: Preparing Your Apples
First, give your apples a good wash. Remove any stickers or blemishes. Then, chop them into smaller pieces. You don’t need to peel them. The skins add great flavor and color. This initial prep is key.
Step 2: Extracting the Fresh Apple Juice
Next, it’s time to get that juice! You can mash the apple pieces. A food processor works well for this. Alternatively, a blender can do the job. You want to break them down. This helps release the natural juices. It’s a juicy process!
Step 3: Straining for Smoothness
Now, strain the mashed apples. Use a fine-mesh sieve or cheesecloth. This separates the liquid from the pulp. You want pure, smooth apple cider. Press gently to get all the juice out. Some pulp is okay, but we want it mostly clear.
Step 4: Enhancing Flavor and Fermentation (Optional)
This step is for customization. If you like it sweeter, add sugar or honey now. For a quicker fermentation, a pinch of yeast helps. Stir it all in well. This is where you tailor it to your taste. Make it your own!
Step 5: The Fermentation Process Begins
Pour your juice into a clean container. Cover it with a breathable cloth. Cheesecloth or a clean tea towel works great. Secure it with a rubber band. This lets air in but keeps bugs out. It’s ready for its transformation.
Step 6: Patience and Taste: Fermenting Your Apple Cider
Let the mixture sit at room temperature. It ferments over several days. Taste it daily to check the tanginess. The longer it sits, the more tart it gets. This is where the magic happens. Adjust the time to your liking. Your perfect apple cider awaits.
Step 7: Final Straining for Clarity
Once it tastes just right, strain it again. This removes any sediment. Use fine-mesh sieve or cheesecloth. You want a clear, beautiful beverage. This ensures a smooth drinking experience. It’s almost ready to enjoy!
Step 8: Bottling and Maturing Your Apple Cider
Pour your finished cider into clean bottles. Seal them tightly. Let them mature in a cool place for a few days. This mellows the flavors. Your amazing homemade apple cider is now ready! Cheers to your creation.
Tips for Success with Your Apple Cider
- Use a variety of apples.
- Ensure all equipment is super clean.
- Taste frequently during fermentation.
- Don’t rush the maturing process.
- Store your finished cider properly.
- Enjoy your delicious homemade apple cider!
Equipment Needed for Apple Cider
- Large bowls for mashing.
- A food processor or blender.
- Fine-mesh sieve or cheesecloth.
- A clean fermentation vessel.
- Breathable cloth and rubber band.
- Bottles for storage.
Delicious Variations on Apple Cider
Spicing Up Your Apple Cider
Want to add a little extra flair? Cinnamon sticks are a classic. Cloves and star anise add warmth. A slice of fresh ginger gives a nice kick. Orange peel adds a bright citrus note. These spices transform your basic apple cider. They make it perfect for cozy evenings.
Dietary Considerations for Apple Cider
This recipe is naturally vegetarian. For a vegan option, use maple syrup instead of honey. If you’re watching sugar, ferment longer. This uses up more of the natural sugars. Unsweetened apple cider is a great choice. It’s a healthy, natural beverage option. You can truly customize it.
Serving Suggestions for Apple Cider
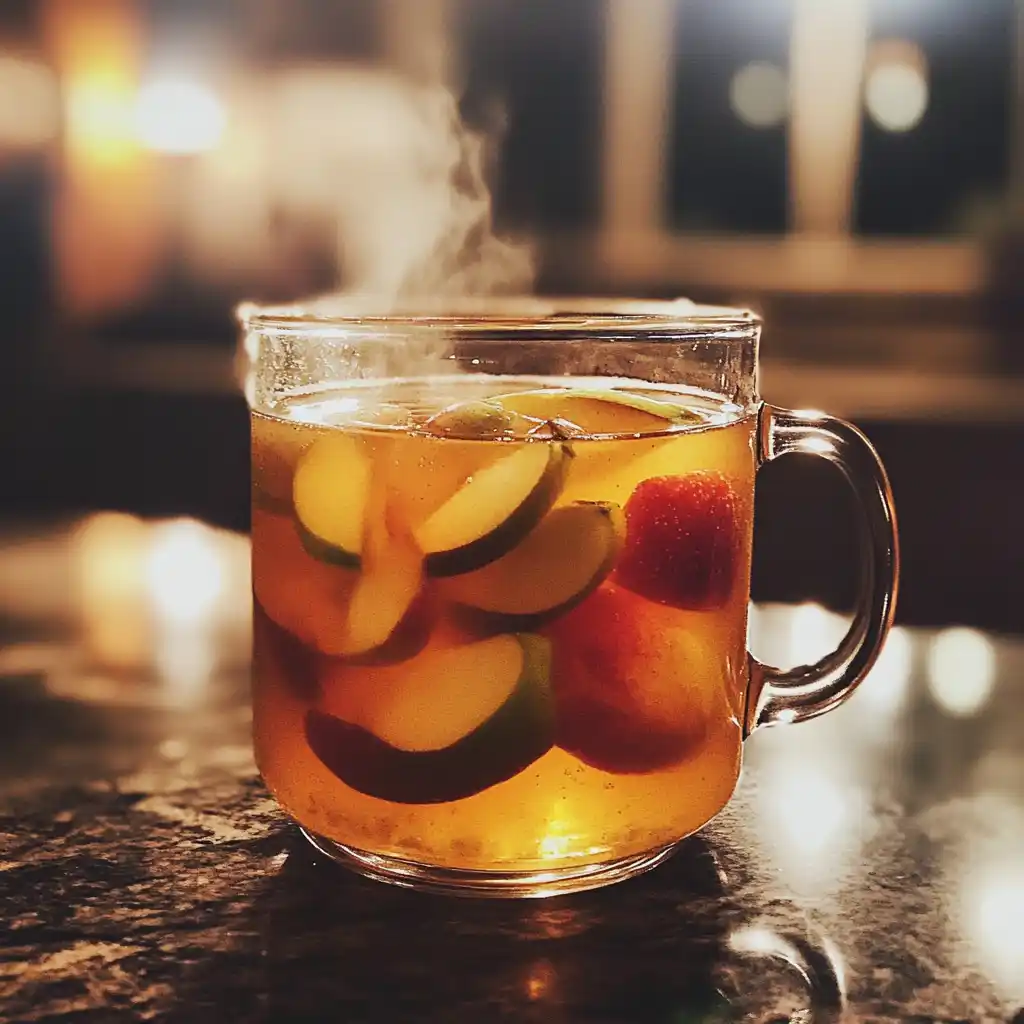
- Serve chilled on a warm day.
- Warm it up with mulling spices for fall.
- Pair with cheese boards and baked goods.
- Offer it as a non-alcoholic option at parties.
- Garnish with apple slices or cinnamon sticks.
Frequently Asked Questions about Apple Cider
Is homemade apple cider safe to drink?
Yes, generally. When you follow good hygiene practices. Cleanliness is key for safe fermented apple juice. Preventing contamination is vital. This ensures your natural beverage is safe.
How long does homemade apple cider last?
Refrigerated, it lasts about 1-2 weeks. If you ferment it longer, it can last longer. Its flavor also changes over time. Enjoy your tangy drink while it’s fresh. Proper storage is important.
What are the health benefits of drinking apple cider?
Unpasteurized apple cider contains probiotics. These are good for your gut health. It also has antioxidants. These can help fight cell damage. It’s a refreshing, healthful choice. Enjoy its natural goodness.
Can I make apple cider without alcohol?
Absolutely! The recipe above can be made non-alcoholic. Simply skip the optional yeast. The natural yeasts on the apple skins will ferment it. It will be less potent. You will still get a delicious, tangy drink. It’s a versatile beverage.
You’ve done it! You’ve crafted your very own batch of delicious apple cider. Take a moment to savor that accomplishment. This isn’t just a drink; it’s a testament to your efforts. It’s a taste of home. It’s a moment of pure, unadulterated joy. You’ve transformed simple apples into liquid gold. Imagine sharing this with loved ones. Their smiles will be worth it. This homemade goodness is truly special. It’s a perfect, natural beverage.
PrintApple Cider: Discover Its Amazing Health Benefits!
- Total Time: Several days to weeks (for fermentation)
- Yield: Varies by batch size
- Diet: Vegetarian
Description
Apple cider is a delicious and refreshing beverage made from fermented apple juice. It’s known for its tangy flavor and numerous health benefits.
Ingredients
- Apples (various varieties for complex flavor)
- Water
- Sugar or honey (optional, for sweetness and fermentation)
- Yeast (optional, for faster fermentation)
Instructions
- Wash and chop apples.
- Mash or blend apples to extract juice.
- Strain the juice to remove pulp.
- Add sugar/honey and yeast (if using) to the juice.
- Pour the mixture into a clean fermentation vessel and cover with a breathable cloth.
- Allow to ferment for several days to weeks, depending on desired tanginess.
- Strain again to remove sediment.
- Bottle the cider and let it mature.
Notes
- The type of apples used will significantly impact the final flavor.
- Fermentation time can be adjusted based on personal preference for sweetness and acidity.
- Proper sanitation of equipment is crucial to prevent spoilage.
- Unpasteurized cider contains beneficial bacteria and enzymes.
- Prep Time: 30 minutes
- Cook Time: N/A
- Category: Beverage
- Method: Fermentation
- Cuisine: General